How fun it is to spend time painting! This activity helps little ones develop their creativity, fine motor skills, and enthusiasm for having a good time. And if they get dirty, just wash up and they’re good to go!
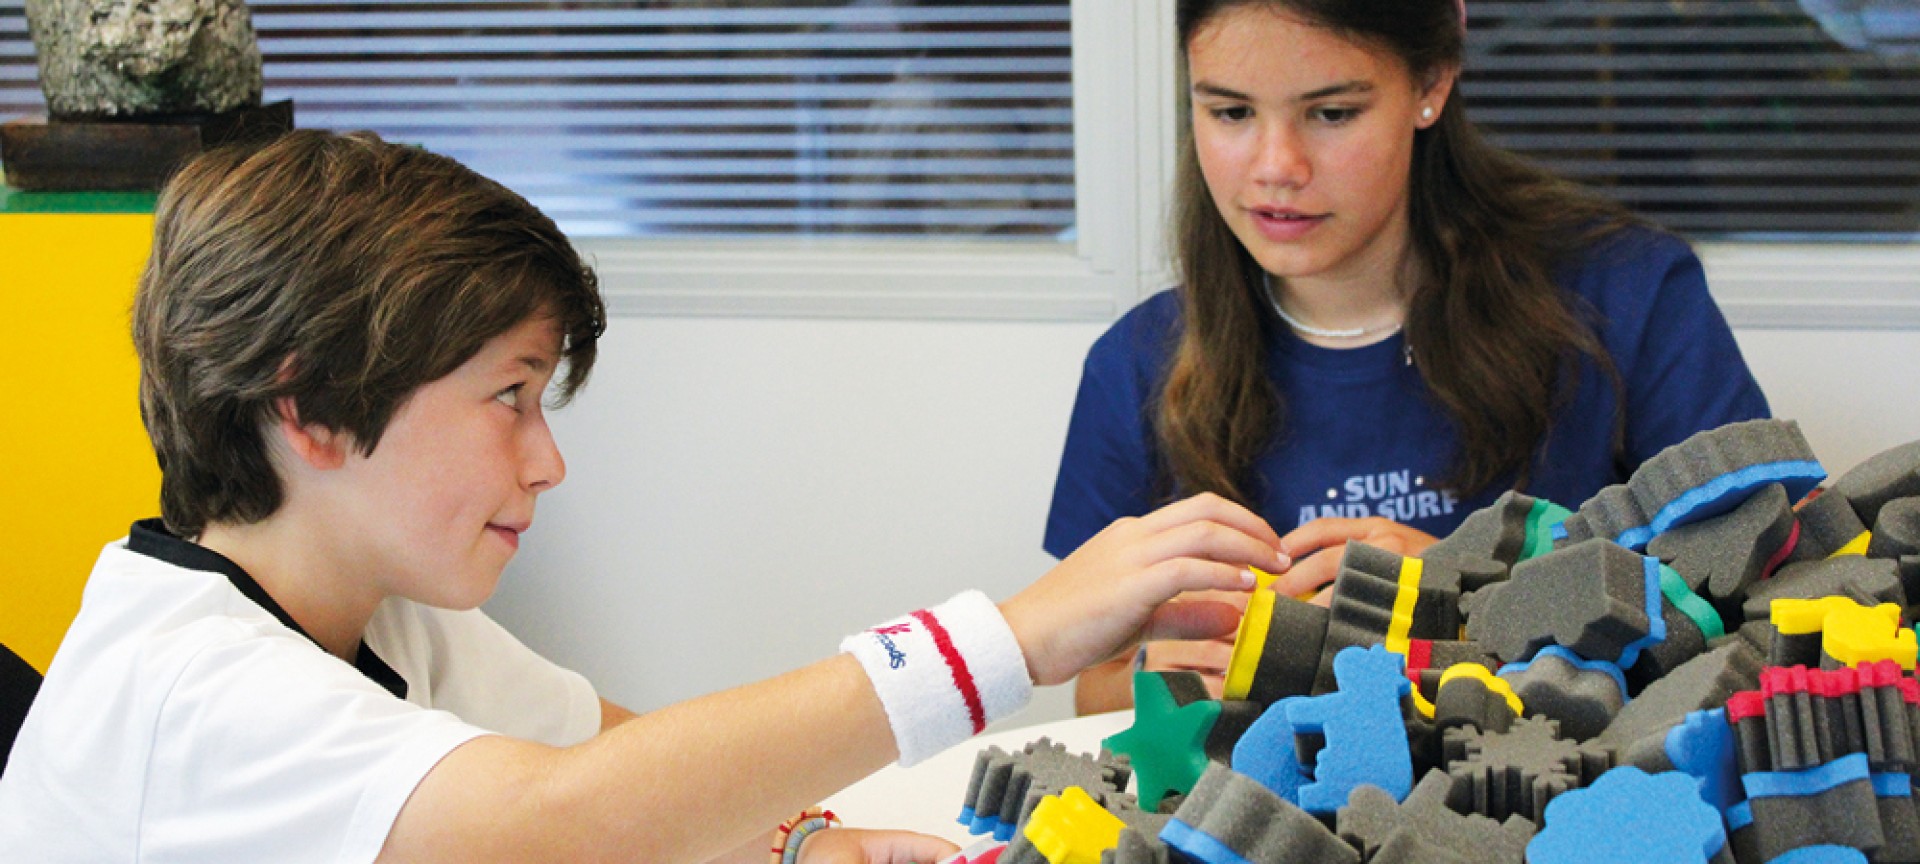
At HenBea, we have a wide range of printing sponges, from farm animals to geometric shapes, all with double density for easy gripping. Everything to help the little artists!
For those who need a bit more guidance, here are some tips for using printing sponges:
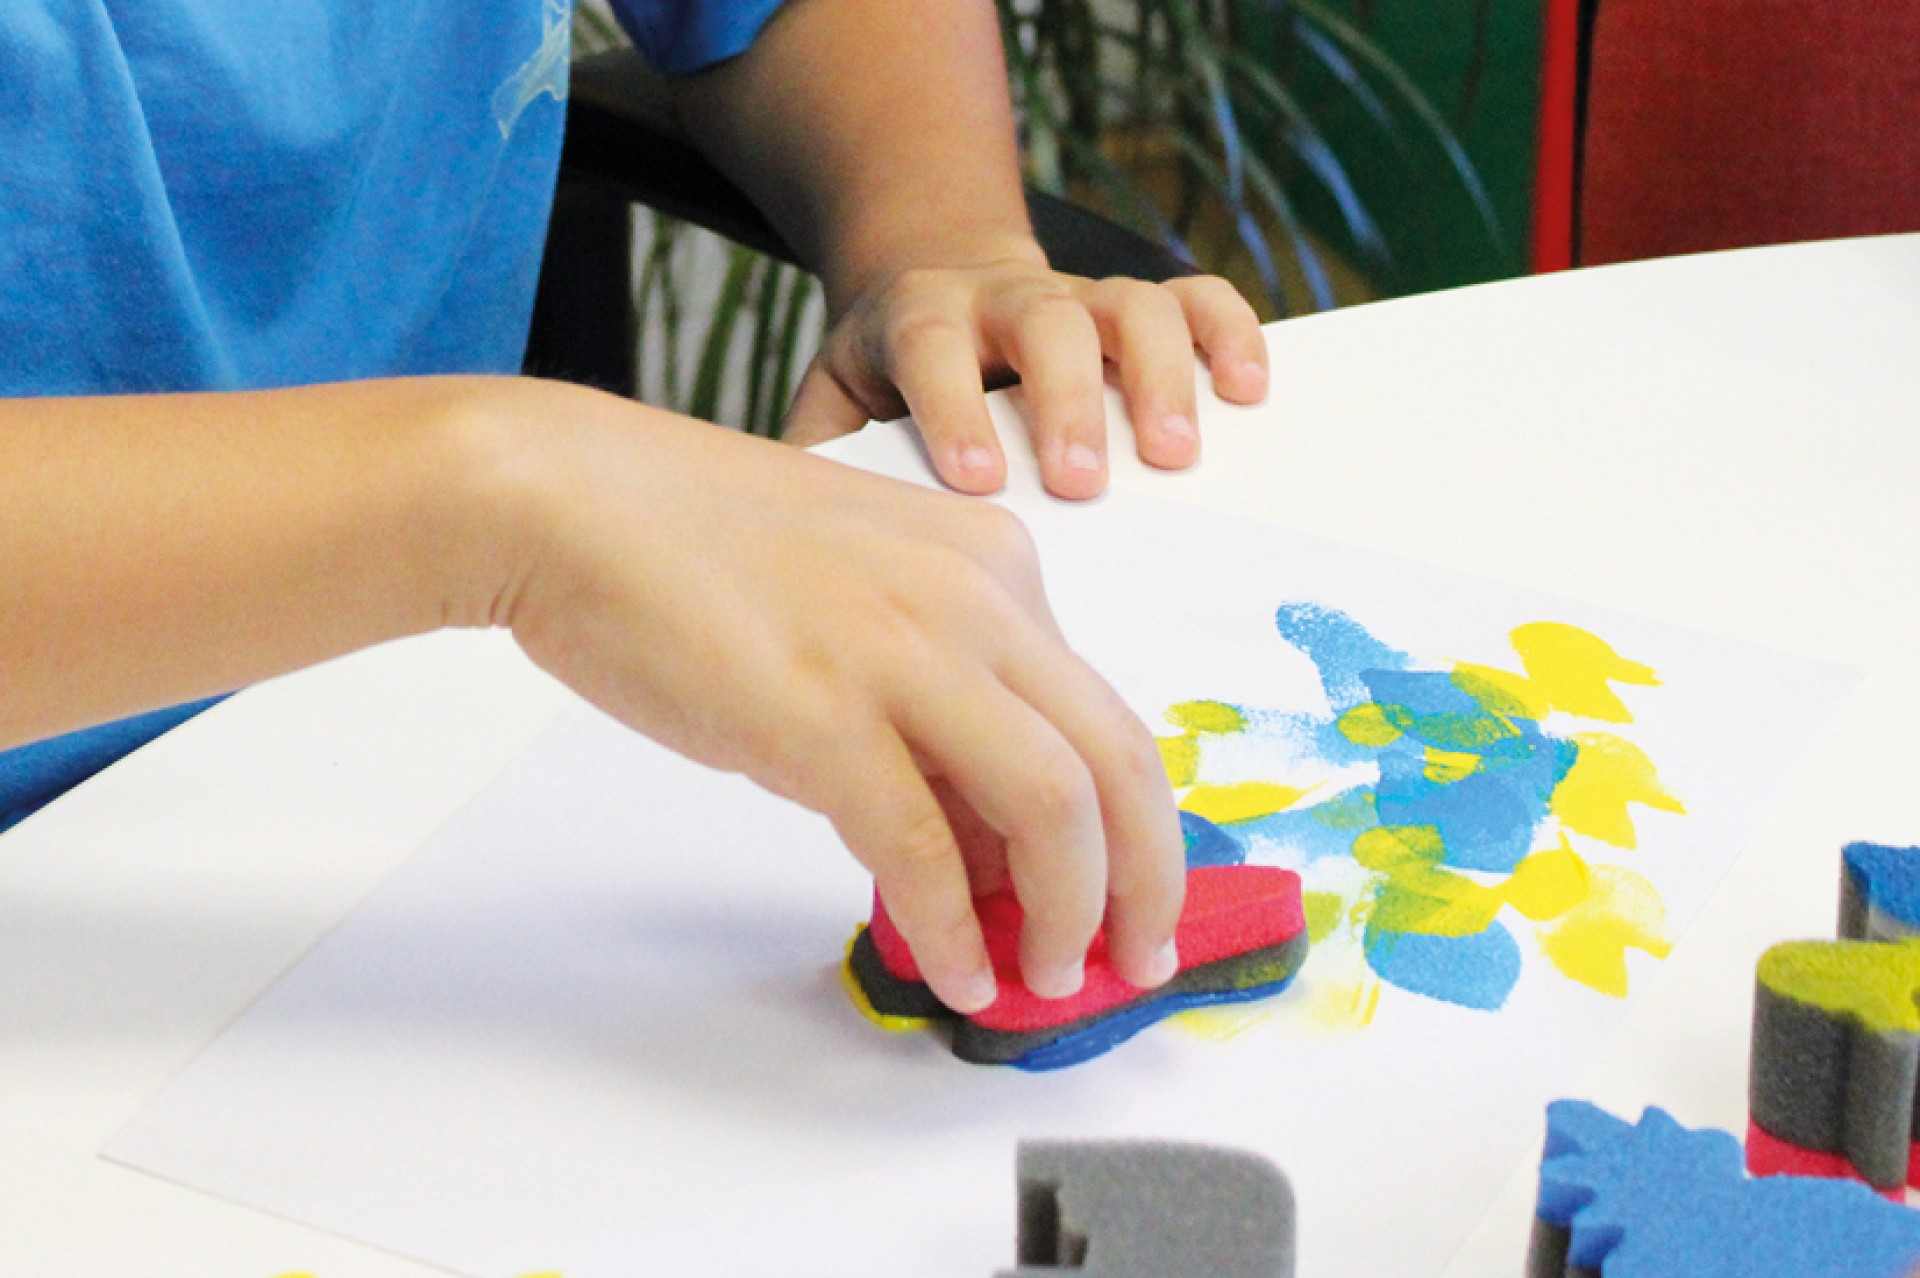
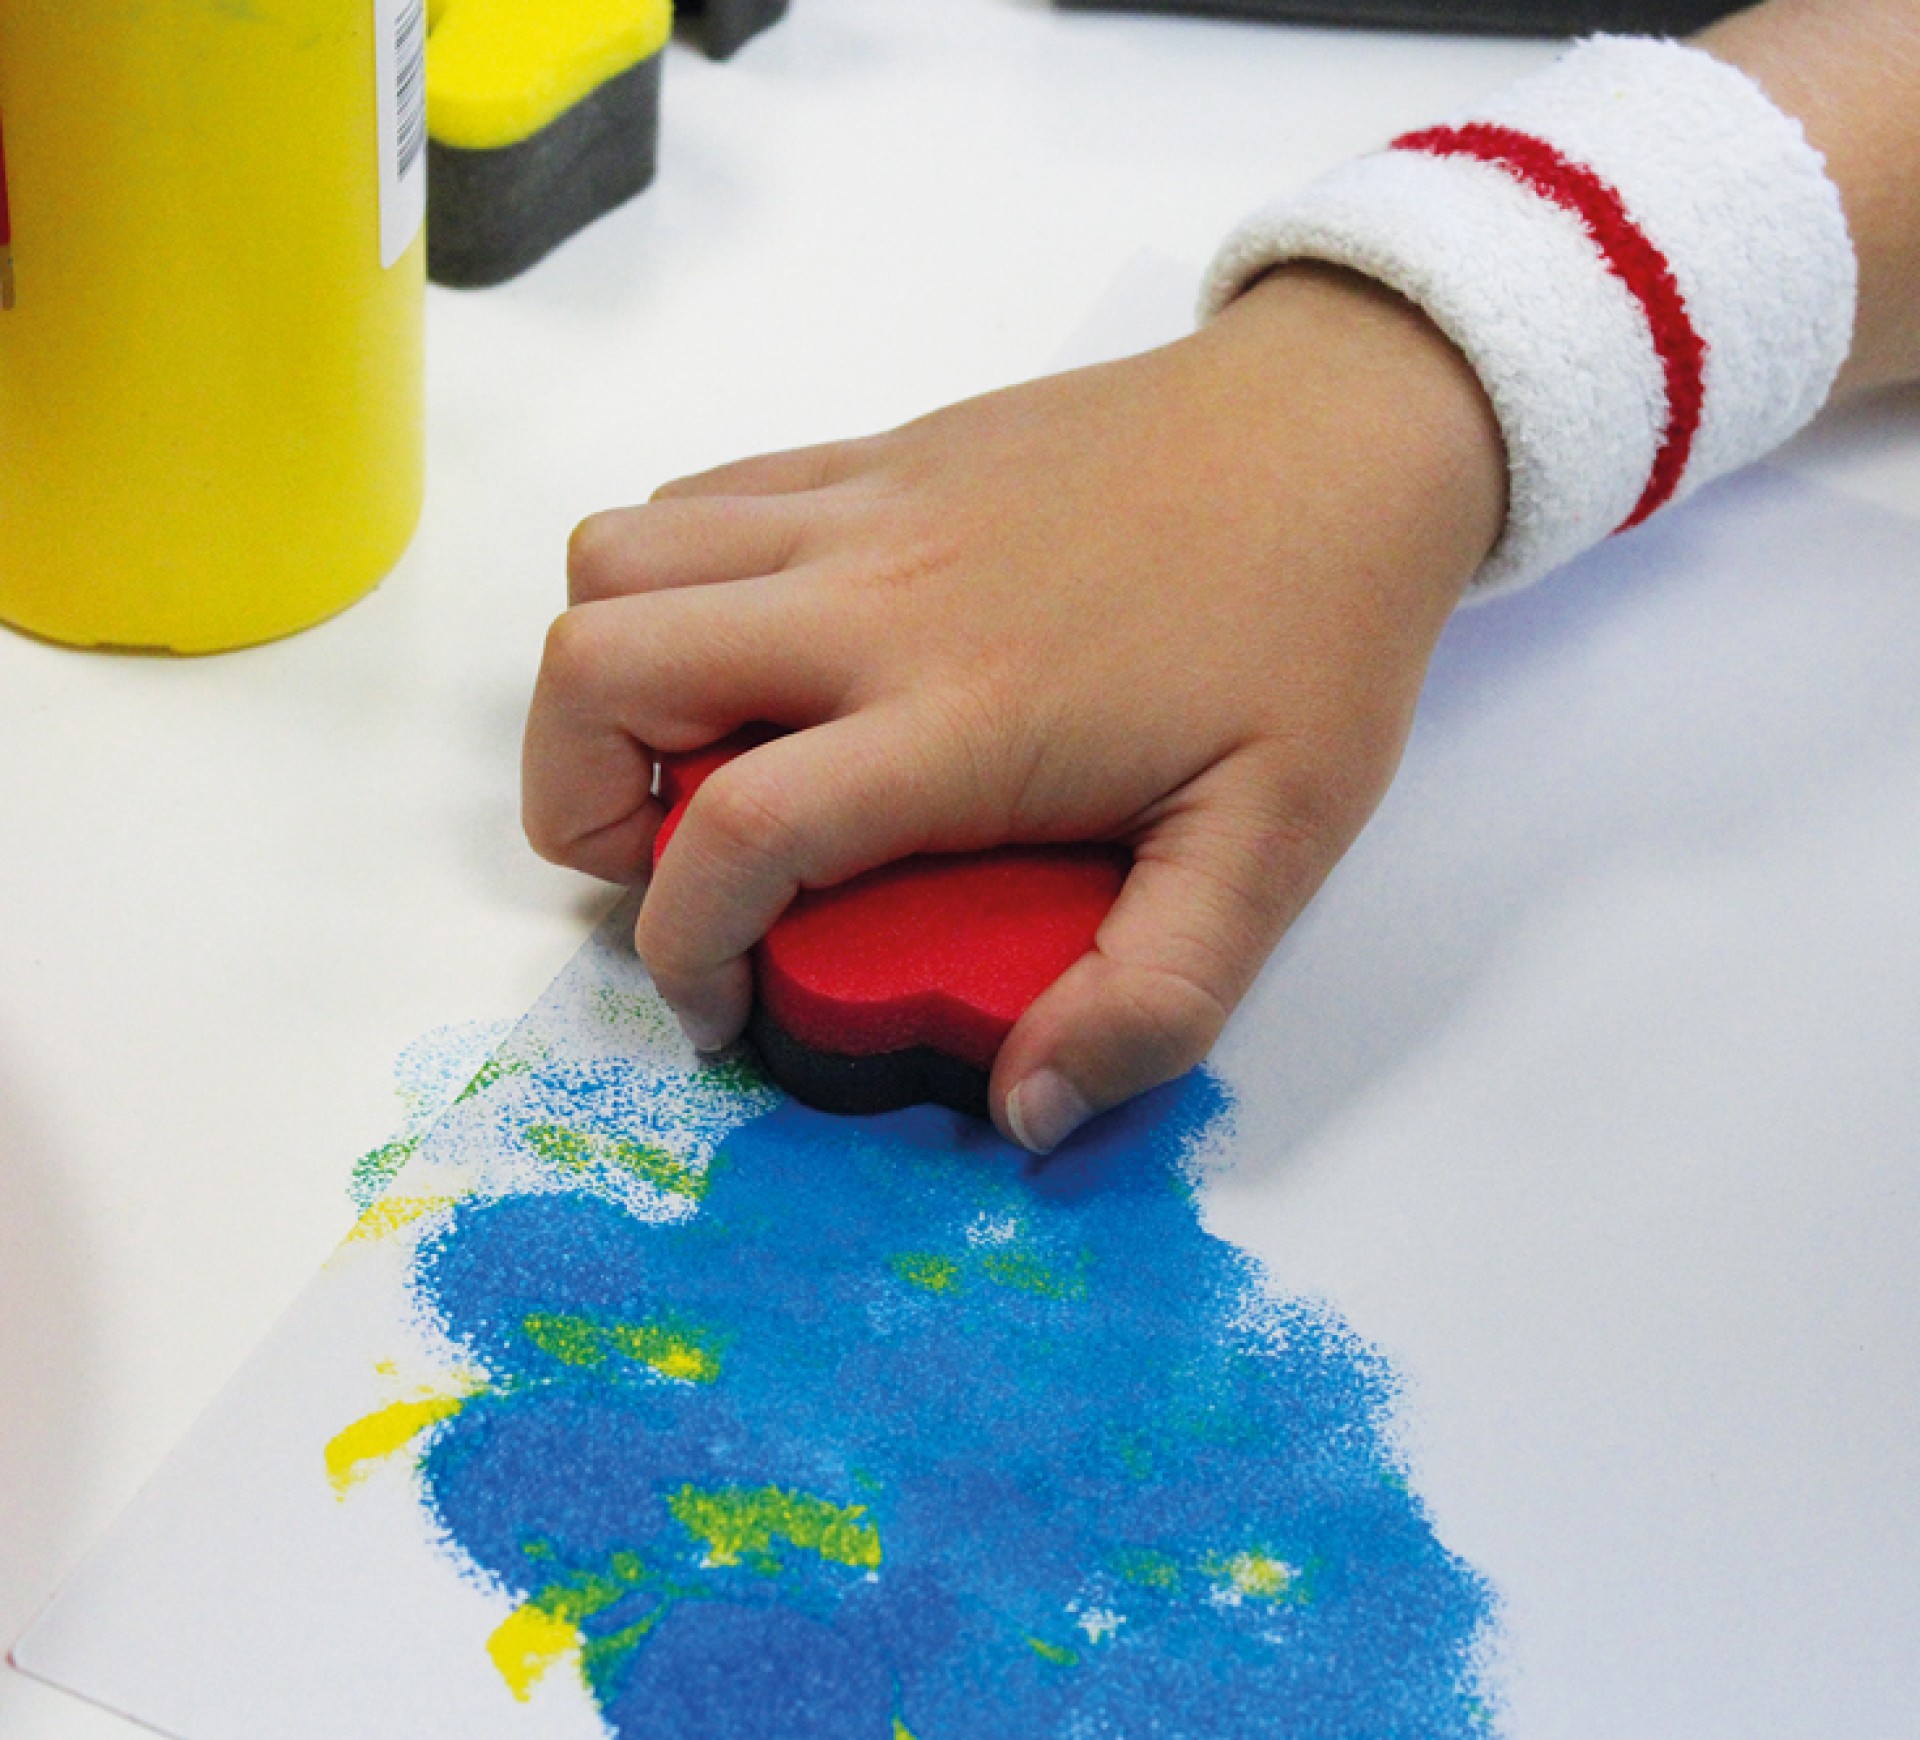 1. Painting Techniques: Gradients from dark to light, or vice versa, can be achieved in two ways: by gently dragging or sliding the sponge across the paper, creating colorful streaks, or by pressing and lifting the sponge with the chosen color, which will highlight the sponge’s shape more. Gradients are ideal for creating natural effects, especially for skies, trees, and mountains.
2. Ideal Complements: Printing sponges can be complemented with our educational stencils, allowing the use of the stenciling technique on paper or, for the more adventurous, on the wall. We have a wide variety of stencils for creating all kinds of murals!
3. Combination of Styles: When painting, if you softly slide the printing sponge, it can be used to create backgrounds. Once dry, you can paint the desired scene on top with brushes. Using the sponge wet with water can create very interesting drips.
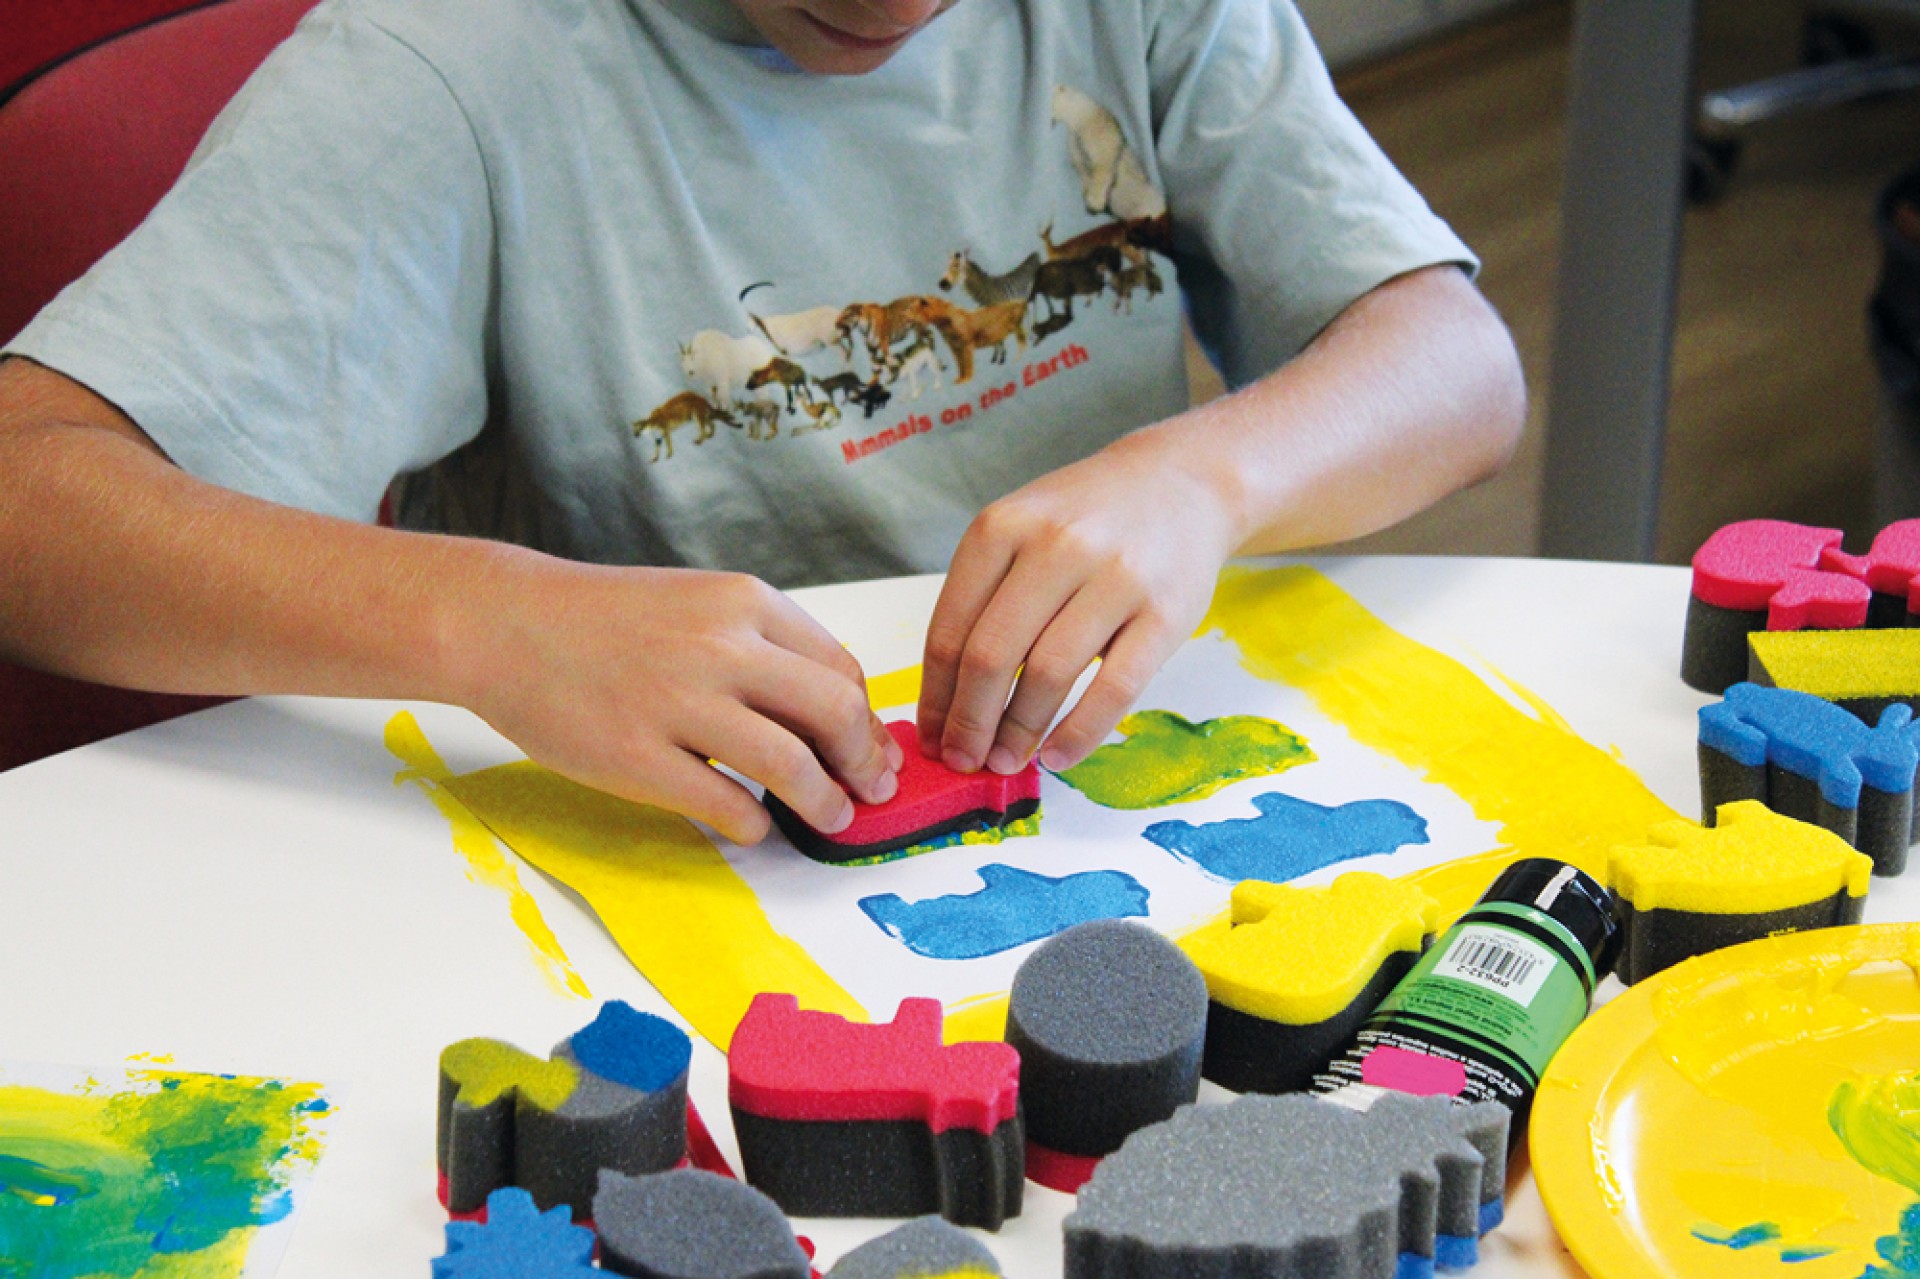
4. Applying the Paint: There are two ways to apply paint to the printing sponges: with a brush or by soaking the sponge in a tray or a plastic or ceramic plate.
5. Recommended Paint: We recommend using water-based paints such as tempera or acrylics.
The fun of printing sponges is that little ones can be as creative as they want to be. Let them use their imagination and have fun!